
Recaulking a Bathtub: A Room-by-Room Prep Guide Before You Start

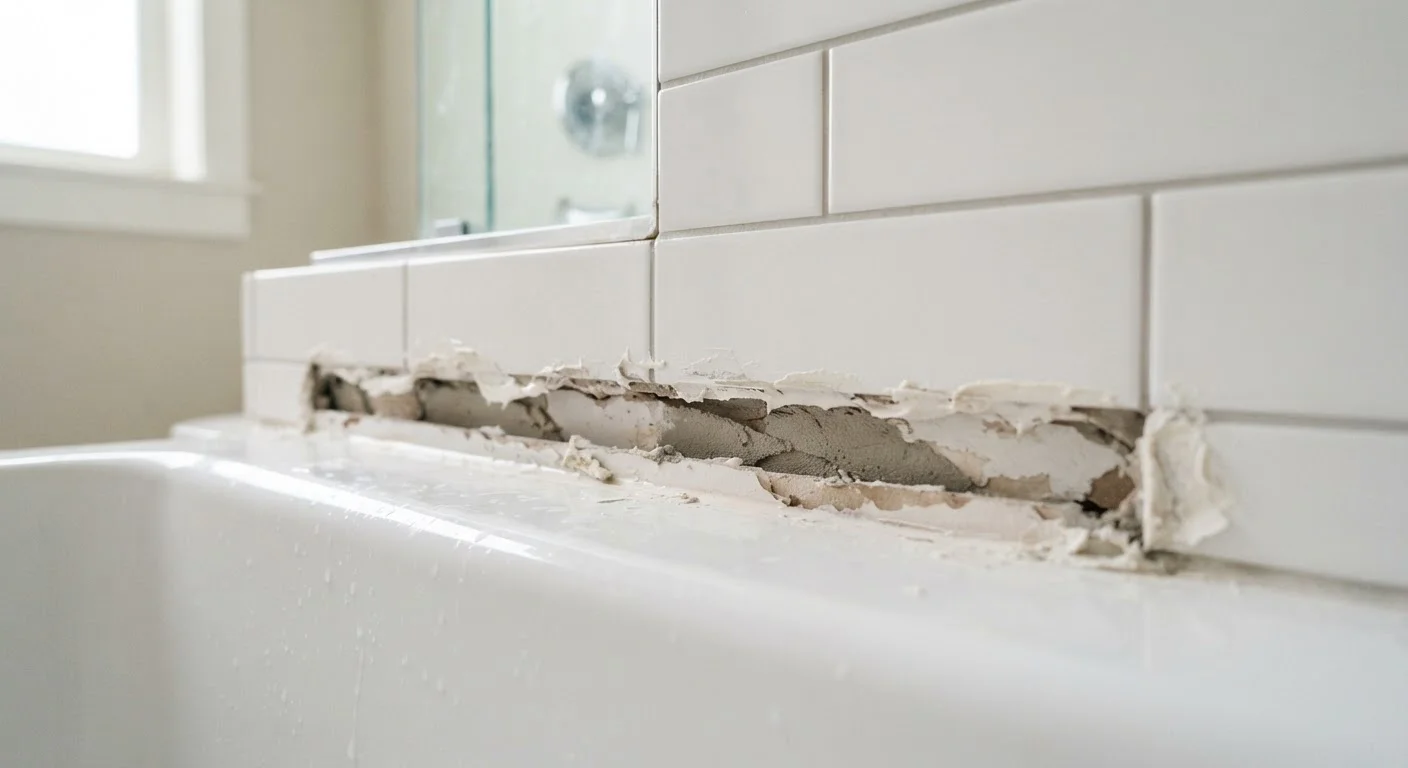
Photo: InsightsBlock.com | Access Information With Ease editorial
Key Takeaways
- Old caulk must be fully removed before new caulk is applied - partial removal leads to early failure.
- The tub surface must be completely dry for at least 24 hours before you lay a new bead.
- Cleaning with mildew-killing products is essential, but the surface must be rinsed and dried thoroughly afterward.
- Filling the tub with water before caulking helps account for the weight-induced gap between tub and tile.
- Ventilation and curing time are just as important as the application itself.
Why Prep Work Determines Whether Your Caulk Lasts
A recaulking job looks simple from the outside - remove the old stuff, squeeze in new caulk, smooth it out. But most bathtub caulk failures trace back not to the caulk itself, but to inadequate preparation. Moisture trapped beneath the surface, residual mold, or old caulk left behind will all cause new caulk to peel, crack, or grow mildew within months.
This guide walks you through every prep step room by room - starting with the bathroom itself, then addressing the tub and surrounding tile - so you go into the job with a surface that's truly ready. Work through the checklist below before you open a single tube of caulk.
Utility knife or caulk removal tool
Scores and lifts old caulk from the joint without damaging tile or the tub finish.
Plastic scraper
Removes stubborn caulk residue from the tub deck without gouging the surface.
Stiff-bristle scrub brush
Works cleaning solution into the joint and tile surface to remove mold and soap scum.
Isopropyl alcohol (70%+)
Degreases the joint surfaces after cleaning to promote strong caulk adhesion.
Bleach solution (diluted)
Kills mold and mildew spores in the joint before new caulk is applied.
Painter's tape
Creates clean, straight edges along both sides of the caulk joint.
Portable work light
Illuminates the joint so you can confirm all old caulk and residue has been fully removed.
Caulk gun and 100% silicone or siliconized latex caulk
Delivers an even bead of flexible, waterproof caulk suited to a tub-tile joint.
Bathroom-Level Preparation
Before you touch the tub, set up the room to support a clean, effective job. These steps affect ventilation, lighting, and safety - all of which matter more than most guides acknowledge.
Room Setup
Old Caulk Removal
Cleaning and Mildew Treatment
Drying and Final Checks
One detail worth emphasizing: recaulking a bathtub produces fumes from both cleaning agents and caulk. Work with a window open or an exhaust fan running throughout the project and during the full curing period, which is typically 24 hours but varies by product - check the label.
Never Mix Bleach With Other Cleaners
Tub and Tile Surface Preparation
This is where most homeowners either succeed or set themselves up for a callback. The surface must be chemically clean, physically free of old caulk, and bone dry before new material goes down.
Pay particular attention to the joint where the tub deck meets the tile or tub surround panels. This joint flexes slightly every time someone gets in and out of the tub. That's why 100% silicone or a siliconized latex caulk - not grout - belongs here. Grout is rigid and will crack under that movement.
Also note: once the tub is clean and dry, fill it with water before you apply caulk. The weight of the water causes the tub to settle slightly, widening the gap at the tub-tile joint. If you caulk with an empty tub, that gap will compress under load and push the caulk out over time.
Caulk Over Grout Will Always Fail
The content provided on our blog site traverses numerous categories, offering readers valuable and practical information. Readers can use the editorial team’s research and data to gain more insights into their topics of interest. However, they are requested not to treat the articles as conclusive. The website team cannot be held responsible for differences in data or inaccuracies found across other platforms. Please also note that the site might also miss out on various schemes and offers available that the readers may find more beneficial than the ones we cover.