
Storm Door Installation: What to Measure, What to Watch For, and When to Get Help

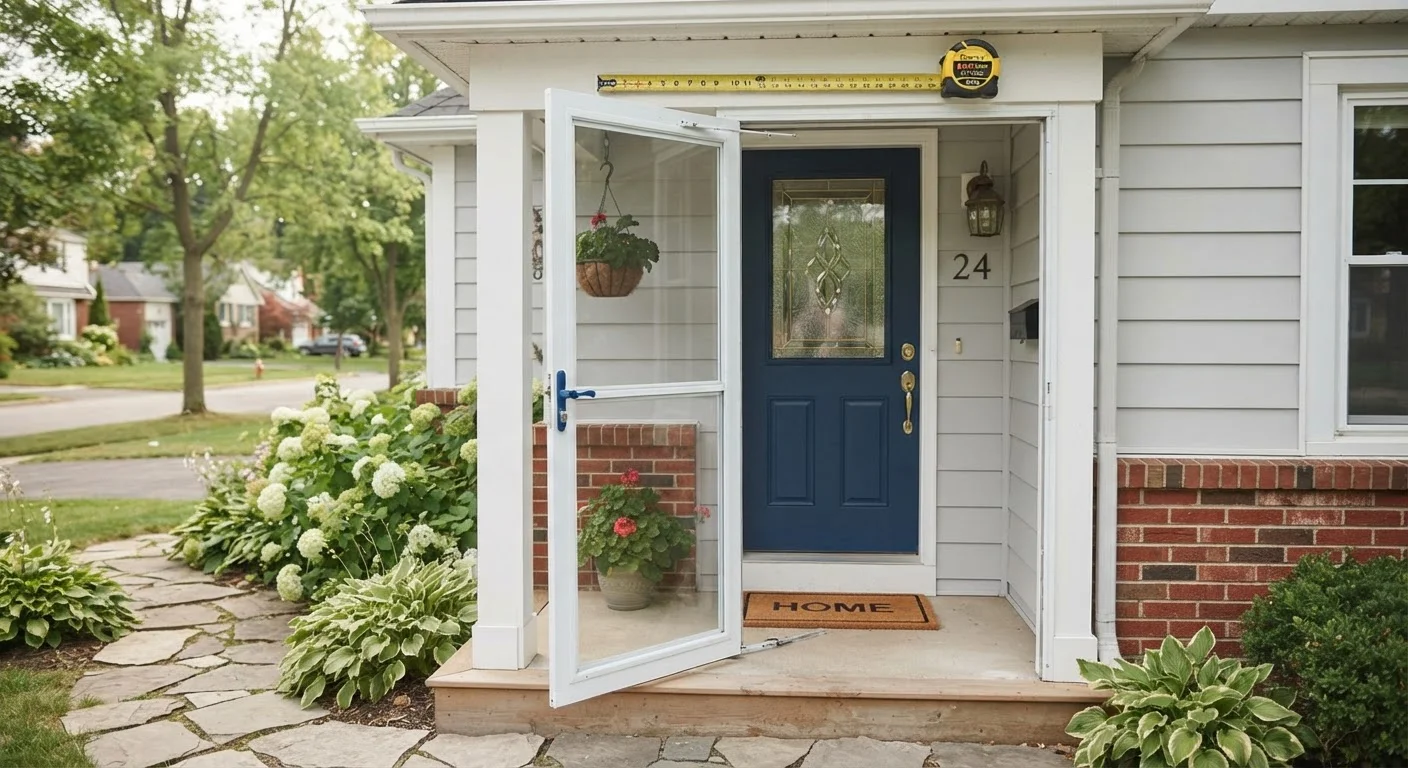
Photo: InsightsBlock.com | Access Information With Ease editorial
Key Takeaways
- Measure both the width and height of your door opening at multiple points before purchasing a storm door.
- An out-of-square or damaged door frame may require professional correction before installation.
- Most storm doors are hinged on the same side as your entry door and cannot be easily reversed after installation.
- Proper sealing and weatherstripping are critical to the door's energy-efficiency and long-term performance.
- Electrical or hydraulic closer adjustment is one of the most commonly overlooked finishing steps.
Before You Buy: Getting the Measurements Right
A storm door that doesn't fit properly can't be shimmed into submission - it either fits or it doesn't. Getting measurements right before you purchase saves money, return trips to the store, and a significant amount of frustration.
Measure the door opening (also called the rough opening), not the existing door itself. You want the distance between the inside edges of the door frame: measure the width at the top, middle, and bottom, then measure the height on both sides. Use the smallest measurement in each direction - storm doors must fit inside the frame without forcing it.
Most storm doors are sold in standard sizes (common widths include 32", 34", and 36"), so round your smallest measurement down to the nearest standard size, not up. Also note which side the entry door is hinged on - your storm door should be hinged on the same side, and this should be specified at purchase.
What you will need
Check the depth of your door frame (also called the brick mold or door brickmold). Storm doors require a minimum frame depth - typically around 1¾ inches - to anchor properly. If your existing frame is narrower than that, you may need an extension kit or a custom solution.
What to Watch For: Hidden Challenges That Can Derail Installation
Even a careful measurement won't reveal every complication. Spend time inspecting your door frame before starting work.
Out-of-Square Frames
Older homes in particular may have frames that are no longer perfectly square. Use a level or a carpenter's square to check all corners. A variance of more than ¼ inch from square across the opening can prevent proper closure and sealing. Minor variances can sometimes be compensated for with careful shimming; larger ones typically require a contractor to assess whether frame repair is needed first.
Rotted or Damaged Wood
Press firmly along the door frame and surrounding trim. Soft or spongy wood indicates rot, and a storm door anchored into rotted wood won't hold securely - and can worsen the underlying damage. This is a situation where professional repair before installation is strongly advisable.
Masonry and Non-Standard Entries
If your entryway is flanked by brick, stone, or masonry rather than standard wood framing, installation becomes considerably more involved. Specialty hardware and anchors are required. Unless you have experience with masonry fastening, this is a strong candidate for professional installation.
Document Your Frame Condition Before Starting
Step-by-Step Installation Overview
Once you've confirmed your frame is sound and your measurements are verified, you can proceed. Follow manufacturer instructions closely - every storm door model varies - but the general sequence is consistent.
Verify Your Measurements and Prep the Opening
Re-measure the opening one final time before unboxing the door. Remove any existing screen door, old hardware, and protruding screws or nails from the frame. Clean the frame surfaces so the new door rail will sit flush.
Cut and Install the Hinge-Side Rail
Most storm doors come with an aluminum Z-bar (or hinge rail) that mounts along the hinge side of the frame first. Hold it in place, check for plumb using your level, and mark the screw positions. If the rail is too long, trim it from the bottom using a hacksaw. Fasten securely according to manufacturer specs.
Hang the Door on the Hinge Rail
With a helper, lift the door into the frame and attach it to the hinge-side rail using the provided hinge hardware. Check that the door swings freely and that the gap at the top is even. Most manufacturers provide an adjustment mechanism in the top corner bracket - use it to fine-tune alignment before proceeding.
Install the Latch-Side and Top Rails
Close the door and press the latch-side rail snugly against the door edge. Fasten it in place while keeping the door closed to ensure a tight fit. Then install the top rail, trimming as needed. Check all corners for gaps - visible daylight around the frame indicates a sealing problem that must be corrected now.
Install the Door Closer and Handle Hardware
Attach the pneumatic or hydraulic door closer according to the manufacturer's instructions - typically one bracket on the door and one on the frame. Install the handle, latch, and any keyed lock hardware. Test the latch mechanism to confirm it catches consistently and releases without sticking.
Seal the Perimeter and Test for Weathertightness
Apply a bead of exterior-grade caulk along any gaps where the frame rails meet the door jamb or siding. Allow to cure per the caulk manufacturer's guidance. Then close the door and check the weatherstripping contact all the way around - there should be consistent, light compression with no visible gaps. Open and close the door several times to confirm smooth operation.
When to Call a Professional
Storm door installation sits in an interesting middle ground: it's manageable for a confident DIYer with basic tools, but it carries several failure points that can lead to energy loss, security vulnerabilities, or structural damage if done incorrectly.
Consider hiring a licensed handyperson or contractor if any of the following apply:
- Your door frame shows signs of rot, water damage, or structural compromise
- The opening is significantly out of square (more than ¼ inch)
- Your entryway is framed in masonry or an unconventional material
- The installation requires electrical work (some storm doors include powered openers)
- You're unsure how to verify proper sealing and weatherstrip alignment after installation
Getting professional help in these scenarios is not a sign of inexperience - it's a practical decision that protects your home's envelope, your security, and your investment in the door itself. Many contractors can complete a standard storm door installation in under two hours, and the cost is often modest compared to the cost of redoing a poor installation.
The content provided on our blog site traverses numerous categories, offering readers valuable and practical information. Readers can use the editorial team’s research and data to gain more insights into their topics of interest. However, they are requested not to treat the articles as conclusive. The website team cannot be held responsible for differences in data or inaccuracies found across other platforms. Please also note that the site might also miss out on various schemes and offers available that the readers may find more beneficial than the ones we cover.