
Repainting Kitchen Cabinets: What the Process Actually Involves

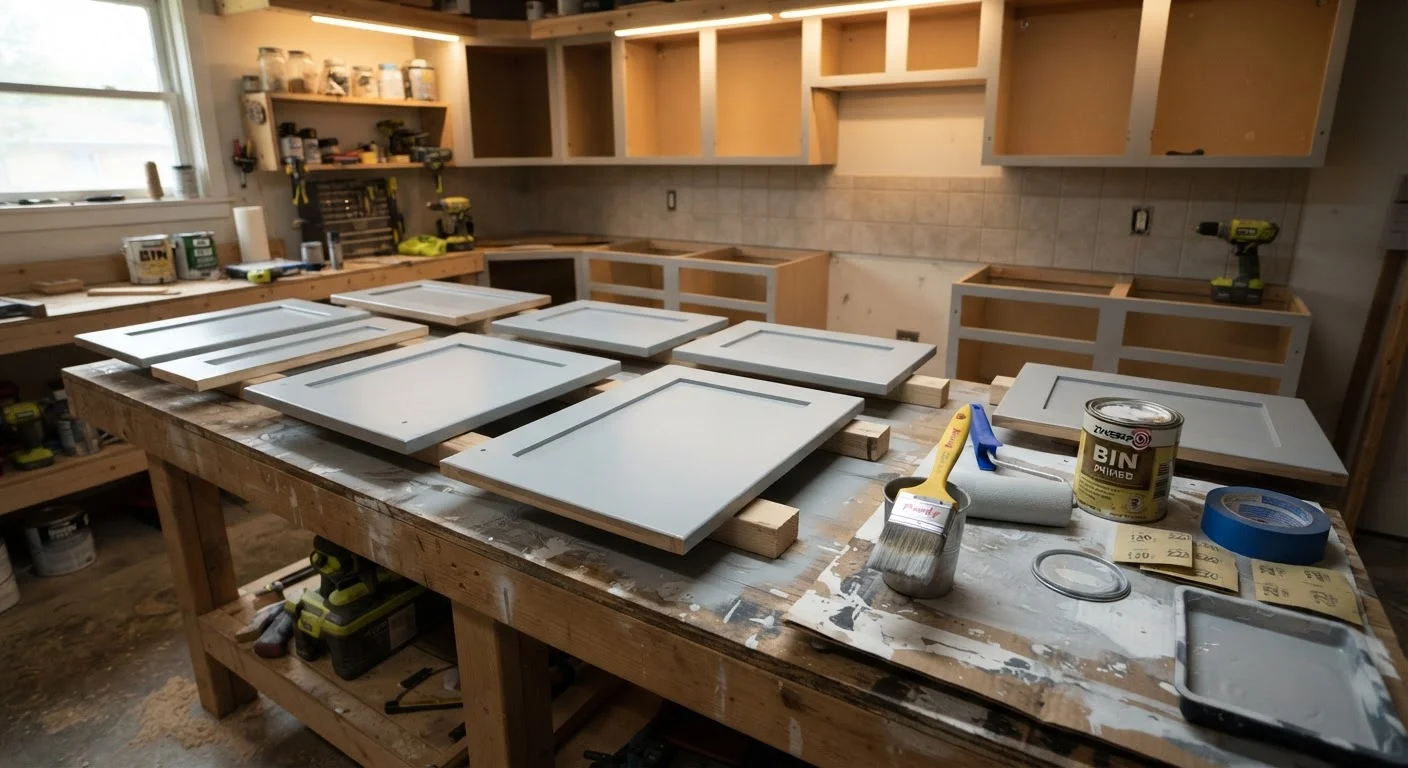
Photo: InsightsBlock.com | Access Information With Ease editorial
Key Takeaways
- Thorough degreasing and sanding are more important than the paint itself for a durable finish.
- Removing cabinet doors and hardware before painting produces significantly cleaner results.
- Primer is not optional on kitchen cabinets - bonding primer prevents peeling over time.
- Paint must fully cure before cabinets return to daily use.
- Rushing drying time between coats is the leading cause of cabinet paint failure.
Why Repainting Cabinets Takes More Time Than Most People Expect
Cabinet repainting is one of the most cost-effective kitchen updates a homeowner can make - but it is not a weekend shortcut. The visible paint layer is only a fraction of the work. What actually determines whether your finish lasts two years or ten is everything that happens before a brush touches a surface.
Kitchen cabinet surfaces are coated in cooking grease, cleaning product residue, and airborne oils that accumulate over years. Paint applied over that contamination will not bond properly, no matter how good the product is. Understanding each stage of the process upfront helps you plan realistically and avoid the frustration of a finish that chips or peels within months.
What you will need
Tools and Materials You Will Need
Gathering everything before you start prevents mid-project delays that can compromise drying times or surface quality.
Degreaser or TSP substitute
Removes cooking grease and residue from cabinet surfaces so paint can bond properly.
120- and 220-grit sandpaper
Scuffs the existing finish to create mechanical adhesion for primer and paint.
Bonding primer
Creates an adhesion layer between the existing cabinet surface and the topcoat paint.
Cabinet or trim paint (water-based alkyd or acrylic enamel)
Provides a hard, washable finish suitable for kitchen use.
Foam roller (4-inch) and quality synthetic brush
Foam roller minimizes texture on flat surfaces; brush handles recessed panels and edges.
Painter's tape and drop cloths
Protects walls, countertops, and floors from drips and overspray.
Screwdriver and labeled zip-lock bags
For removing and organizing hinges, knobs, and hardware so nothing gets lost.
Tack cloth or microfiber cloth
Removes fine sanding dust before each new coat is applied.
The Step-by-Step Process
Follow these steps in order. Skipping or compressing stages - particularly cleaning, sanding, and drying - is the most common reason cabinet paint jobs fail prematurely.
Remove Doors, Drawers, and Hardware
Take off all cabinet doors, drawer fronts, and hardware - hinges, knobs, and pulls - before doing anything else. Label each door and its corresponding cabinet opening using masking tape and a marker so reinstallation is straightforward. Store hardware in labeled zip-lock bags. Painting with doors in place produces uneven coverage, paint buildup around hinges, and difficulty reaching recessed areas cleanly.
Degrease Every Surface Thoroughly
Using a degreaser or TSP (trisodium phosphate) substitute diluted according to label directions, wipe down all surfaces that will be painted - cabinet boxes, doors, drawer fronts, and frames. Work in sections and rinse with clean water. Allow surfaces to dry completely, typically at least one hour. Do not skip this step even if surfaces look clean; invisible grease film is enough to cause adhesion failure.
Sand All Surfaces
Lightly sand all surfaces with 120-grit sandpaper to scuff the existing finish. You are not trying to strip the cabinet down - just dulling the surface so primer has something to grip. Follow with 220-grit for a smoother result. After sanding, wipe every surface with a tack cloth or lightly dampened microfiber cloth to remove all dust particles. Any dust left behind will show through the finished paint.
Apply Bonding Primer
Apply a thin, even coat of bonding primer to all surfaces using a foam roller on flat areas and a synthetic brush for edges and recessed panels. Work systematically - interior cabinet boxes first, then doors laid flat. Allow the primer to dry fully according to the manufacturer's specified time (usually two to four hours), then lightly sand with 220-grit and wipe clean before applying a second coat if the product recommends it.
Apply Paint in Thin, Even Coats
Using your foam roller and brush, apply the first coat of cabinet-grade paint in thin, even passes. Avoid overloading the roller or brush. Two or three thinner coats produce a harder, smoother finish than one heavy application. Allow each coat to dry fully - check the paint manufacturer's recoat window, typically two to four hours for water-based paints - before applying the next. Lightly sand with 220-grit between coats and wipe clean each time.
Allow Full Cure Time Before Reinstalling
Once the final coat is applied and dry to the touch, wait before reinstalling doors and hardware. Paint that feels dry is not the same as paint that has cured - curing is a chemical hardening process that takes three to seven days for most water-based enamels. Reinstalling too soon causes the paint to dent, scratch, and stick at contact points. Keep doors in a dust-free area during this period and handle them by the edges only.
Paint Doors Flat for Best Results
Common Mistakes and How to Avoid Them
Even careful DIYers run into a handful of predictable problems. Brush marks and drips usually result from applying coats that are too thick or using the wrong applicator for the paint viscosity. Light, even coats with a foam roller or quality synthetic brush produce a smoother result than trying to cover everything in one pass.
Skipping the bonding primer step is the other frequent mistake. Kitchen surfaces present an especially difficult adhesion challenge because of accumulated grease and the slick factory finish on many cabinet boxes. Learn more about why primer choice matters in our guide on what homeowners often get wrong about priming.
Finally, reinstalling doors and hardware before the paint has fully cured - which can take three to seven days depending on the product and humidity - causes scuffs, dents, and sticking. Patience at this stage protects all the work that came before it.
The content provided on our blog site traverses numerous categories, offering readers valuable and practical information. Readers can use the editorial team’s research and data to gain more insights into their topics of interest. However, they are requested not to treat the articles as conclusive. The website team cannot be held responsible for differences in data or inaccuracies found across other platforms. Please also note that the site might also miss out on various schemes and offers available that the readers may find more beneficial than the ones we cover.