
Tile Layout Planning: Getting Symmetry Right Before the First Piece Goes Down

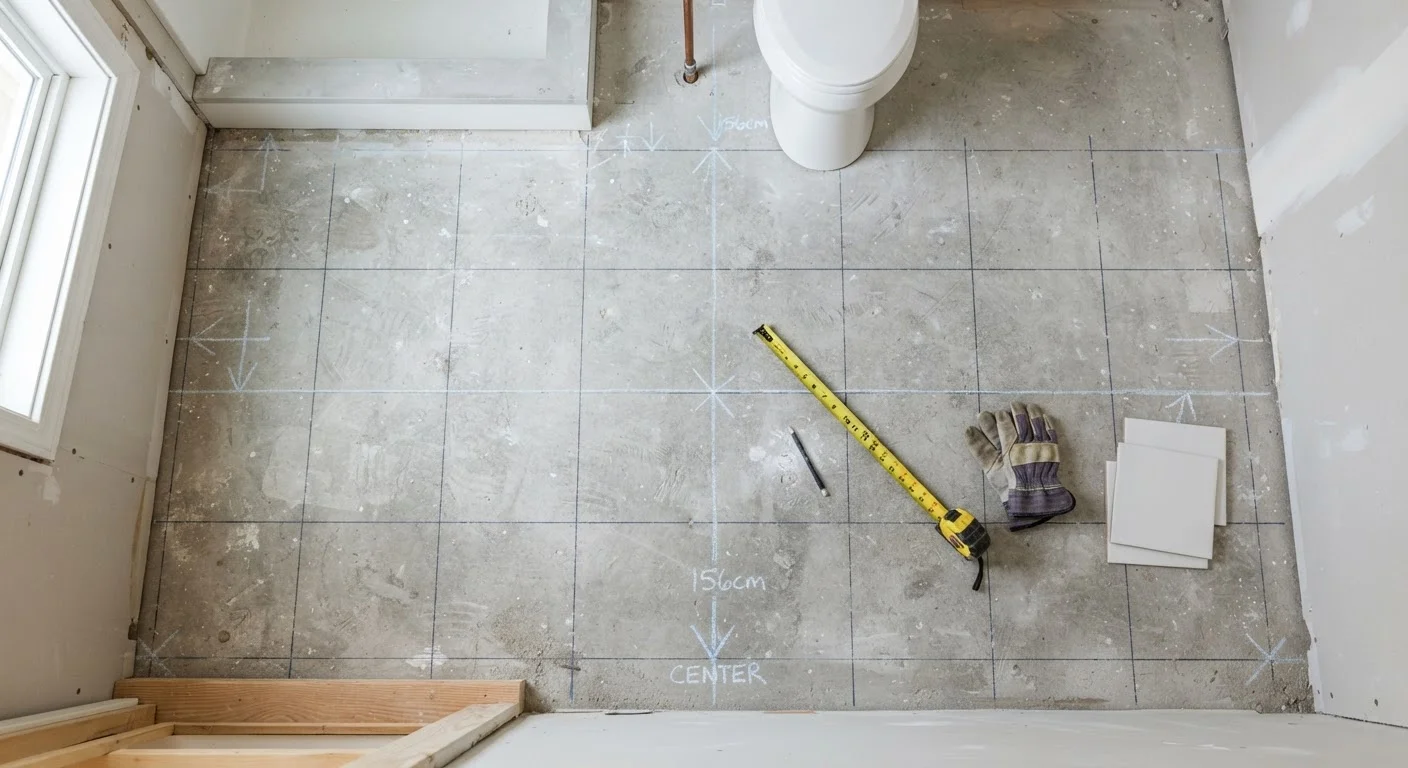
Photo: InsightsBlock.com | Access Information With Ease editorial
Key Takeaways
- Find the true visual center of a room before snapping any layout lines.
- Dry-laying tiles across the floor reveals cut sizes and awkward edge conditions before adhesive is mixed.
- Doorways and focal points should anchor your layout, not be treated as afterthoughts.
- Rooms are rarely perfectly square - always verify with a diagonal measurement check.
- Planning for grout joint width from the start prevents compounding alignment errors.
Why Layout Decisions Happen Before Any Adhesive
A tile job looks polished or amateurish based almost entirely on decisions made before the first piece is set. Thin slivers of tile along a visible wall, a pattern that drifts noticeably off-center, or grout lines that don't align between rooms - all of these trace back to skipped planning steps, not poor installation technique.
The core goal of layout planning is to control where cuts fall and where the eye naturally rests. In most rooms, you want the largest, most symmetrical cuts at the perimeter and the most complete tiles in the areas people see first - the doorway, the focal wall, or the center of the floor. Getting there requires working backward from a visual endpoint, not forward from a corner.
This kind of upfront planning also protects your budget. Tiles cut too narrow can crack during installation, and miscalculated layouts can increase waste significantly. Taking an hour to map the room on paper - or on the floor itself - saves both material and frustration.
Finding the True Center (It's Rarely Where You Think)
Most rooms are not perfectly square. Walls bow slightly, corners are rarely exactly 90 degrees, and floors may have subtle slopes. Starting from a corner and working outward amplifies these imperfections across the entire installation.
Instead, find the room's visual center using two chalk lines snapped perpendicular to each other. The standard method:
- Measure each wall and mark its midpoint.
- Snap a chalk line connecting opposite midpoints - one line running length-wise, one width-wise.
- Where they intersect is your working center point.
- Verify the lines are truly perpendicular using the 3-4-5 triangle method: measure 3 feet along one line, 4 feet along the other, and confirm the diagonal between those two endpoints is exactly 5 feet.
From this center, dry-lay a row of tiles in each direction to see exactly how the pattern lands at each wall. If you end up with a cut narrower than half a tile at one edge, shift your center line by half a tile width to balance the cuts on both sides.
Shift Your Center Line to Balance Edge Cuts
Best Practices for Tile Layout Planning
Always dry-lay at least two full rows of tile before mixing any adhesive.
Prioritize the most visible sightlines when choosing your layout anchor point.
Account for grout joint width in every measurement from the start.
Check for square at multiple points, not just in one corner.
Mark your layout lines in pencil or chalk before snapping permanent lines.
Following these practices methodically reduces the margin for error on any tile project, whether you're working in a small bathroom or a large open-plan kitchen floor.
Quick Steps You Can Take Right Now
Good planning pays off in a cleaner result and fewer wasted tiles. For related guidance on organizing other spaces in your home methodically, see our home organization hub - the same principle of planning before acting applies whether you're tiling a floor or rethinking a vertical storage wall.
This article provides general home improvement guidance only. Always consult a licensed contractor or tile professional for projects involving structural, waterproofing, or permitted work in your area.
The content provided on our blog site traverses numerous categories, offering readers valuable and practical information. Readers can use the editorial team’s research and data to gain more insights into their topics of interest. However, they are requested not to treat the articles as conclusive. The website team cannot be held responsible for differences in data or inaccuracies found across other platforms. Please also note that the site might also miss out on various schemes and offers available that the readers may find more beneficial than the ones we cover.