
Kitchen Drawer Chaos: A Step-by-Step Reset

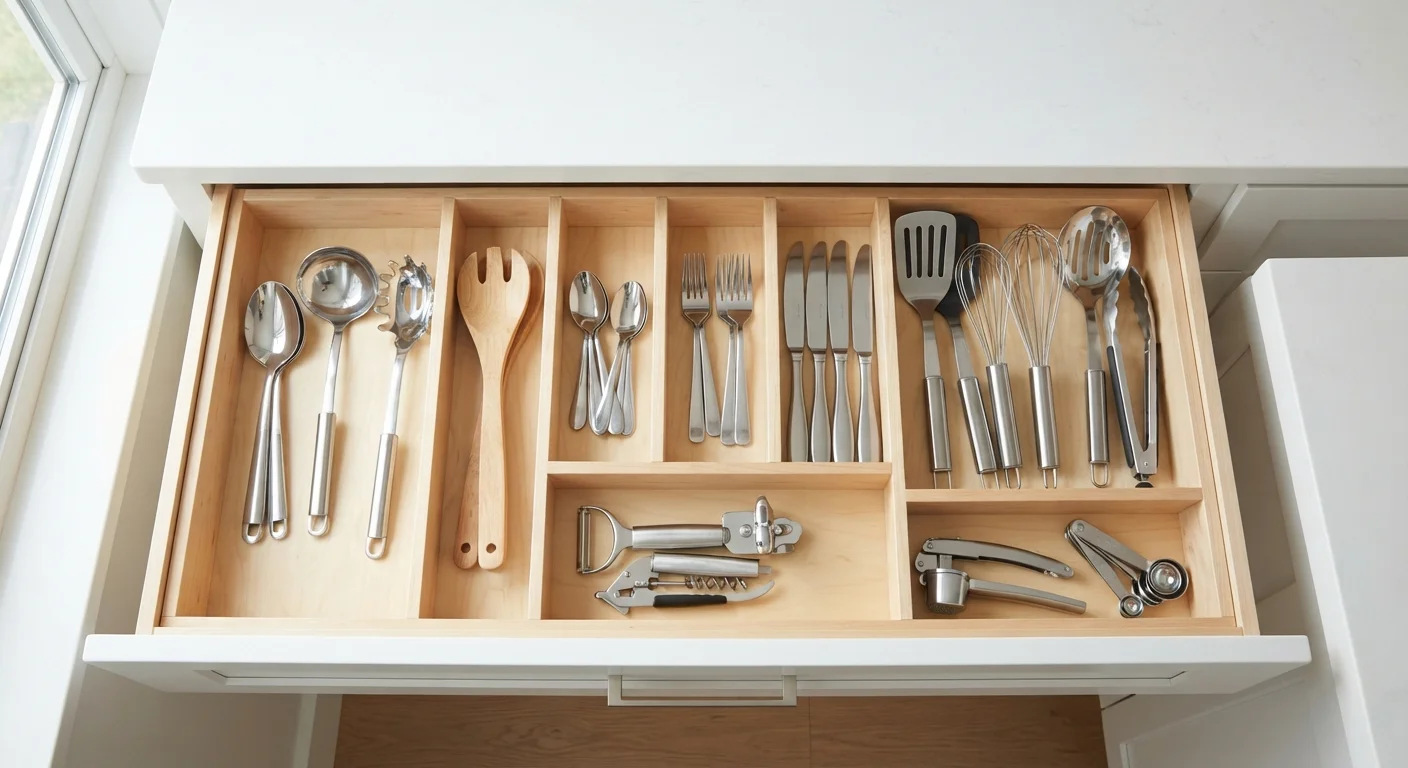
Photo: InsightsBlock.com | Access Information With Ease editorial
Key Takeaways
- Emptying a drawer completely before reorganizing reveals duplicates and forgotten items you can edit out.
- Grouping items by use frequency - not category alone - keeps everyday tools within easy reach.
- Dividers don't need to be expensive; repurposed containers work just as well.
- A five-minute weekly reset prevents drawer chaos from building back up.
- Most kitchen drawers need fewer items than they currently hold.
Why Kitchen Drawers Get Out of Hand
Kitchen drawers are uniquely vulnerable to clutter. Unlike cabinets or shelves where items are visible, drawers hide everything behind a single pull - so small items accumulate quietly over months. A rubber band lands next to the vegetable peeler, takeout menus migrate next to the spatulas, and suddenly nothing is where it should be.
The root problem is rarely laziness. It's a lack of intentional structure. Without defined homes for items, the drawer becomes a catch-all by default. This guided reset addresses that by giving every item a deliberate place - or removing it entirely.
If your whole kitchen feels like it's contributing to broader household disorder, the room-by-room decluttering walkthrough covers the bigger picture. For now, let's focus on drawers.
What you will need
What You'll Need Before You Start
This reset is intentionally low-cost. Gather what you already have before buying anything new - you may find you don't need to purchase a single item.
Drawer dividers or inserts
Separate categories of items so they don't intermingle and shift around with daily use.
Small containers or repurposed boxes
Create improvised compartments using what you already have - mint tins, yogurt lids, or small food storage containers work well.
Trash bag
Immediately remove expired items, broken tools, or obvious garbage found during the empty-out phase.
Sticky labels or masking tape
Label divider zones temporarily while you test the new layout before committing to a permanent arrangement.
For budget-friendly alternatives to commercial organizers, see our guide on home organization on a tight budget.
The Step-by-Step Drawer Reset
Work through one drawer at a time. Attempting multiple drawers simultaneously tends to create more chaos than it solves. Set a timer if that helps you stay focused.
Empty the Entire Drawer
Pull everything out and place it on a flat surface. Don't sort as you go - just remove everything so you can see the full inventory at once. Wipe the inside of the drawer with a damp cloth and let it dry before anything goes back in.
Discard, Donate, or Relocate
Before organizing, reduce. Go through each item and ask: Do I use this in the kitchen? Have I used it in the past six months? If the answer to both is no, it doesn't belong here. Broken tools go in the trash. Duplicate gadgets in good condition can be donated. Items that belong in other rooms get physically relocated now, not later.
Group Items by Use Frequency
Sort what remains into two groups: daily use and occasional use. Daily items - your main knife, spatula, peeler, and measuring spoons - should live in the easiest-to-reach drawer position, nearest the front. Occasional items like skewers, a pastry brush, or a melon baller can sit toward the back or in a secondary drawer.
Add Dividers and Assign Zones
Place dividers or containers into the drawer and assign a zone to each group of items. Stand utensils upright in taller compartments if possible - this makes them immediately visible without rummaging. Lay flat items like spatulas and tongs in dedicated slots rather than piling them. Leave a small amount of empty space in each zone; packed-to-capacity drawers revert to chaos quickly.
Test and Adjust the Layout
Live with the new arrangement for two to three days before declaring it final. Open and close the drawer as you normally would during cooking. If you keep reaching past items to get to others, adjust the placement. The right layout is one that matches your actual movement patterns - not a perfectly symmetrical grid.
One Drawer at a Time Is Enough
Keeping Drawers Organized Long-Term
A reset only holds if the conditions that caused the original clutter are addressed. The most common reason drawers slide back into chaos is that items without a defined home keep entering the space - mail, batteries, twist ties, mystery keys.
Designate one small container inside a single drawer as a temporary holding zone for homeless items. Once a week, spend five minutes clearing it: toss, relocate, or assign a permanent place to everything in it. That single habit does more than any organizer product.
If you've noticed clutter returning even after cleanouts before, it may be worth reading about why clutter comes back and what to do about it - understanding the behavioral patterns helps interrupt the cycle before it starts again.
Avoid Over-Buying Organizers Up Front
The content provided on our blog site traverses numerous categories, offering readers valuable and practical information. Readers can use the editorial team’s research and data to gain more insights into their topics of interest. However, they are requested not to treat the articles as conclusive. The website team cannot be held responsible for differences in data or inaccuracies found across other platforms. Please also note that the site might also miss out on various schemes and offers available that the readers may find more beneficial than the ones we cover.