
Seasonal Swap: Rotating Clothes, Gear, and Décor Without the Chaos

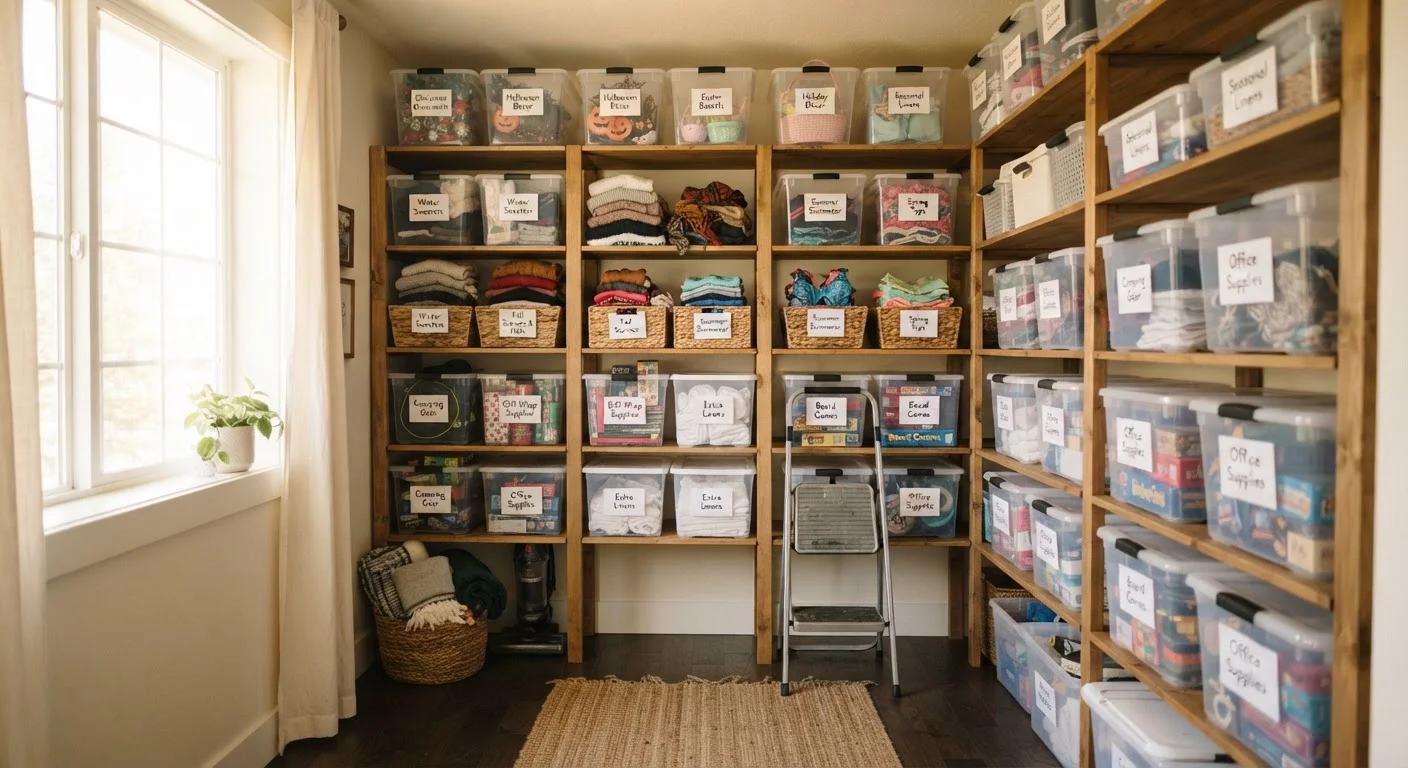
Photo: InsightsBlock.com | Access Information With Ease editorial
Key Takeaways
- Sorting before storing - not after - is the single biggest time-saver in seasonal rotation.
- Clear, standardized labels eliminate the guesswork when retrieving items months later.
- Grouping items by season and category reduces double-handling and wasted effort.
- Off-season items stored improperly risk moisture damage, pests, and odors.
- A simple annual audit during each swap prevents clutter from accumulating year to year.
Why Seasonal Swaps Feel Overwhelming - and How to Change That
Seasonal rotation sounds straightforward: put summer things away, bring winter things out. In practice, most households end up with half-unpacked bins, mystery boxes, and clothes that resurface wrinkled or smelling musty. The problem is rarely a lack of storage space - it's a lack of a repeatable system.
A consistent process - same steps, same containers, same labeling logic each season - turns what feels like a major project into a predictable two-hour task. This guide walks you through building that process from scratch, whether you're rotating clothing, outdoor gear, or holiday décor. For broader strategies on keeping household organization costs low, see our guide on home organization on a tight budget.
What you will need
What You'll Need Before You Start
Gather your supplies before pulling a single item from the closet. Stopping mid-swap to hunt for markers or bags turns a manageable task into an all-day ordeal.
Clear plastic storage bins with lids
Allow visual identification of contents without opening and protect items from dust and pests.
Permanent marker or label maker
Create legible, durable labels that hold up in garage, attic, or basement conditions.
Color-coded tape or stickers
Provide a quick visual cue to identify which season a bin belongs to at a glance.
Vacuum storage bags
Compress bulky off-season bedding and coats to reduce the volume of storage space needed.
Cedar blocks or lavender sachets
Deter moths and reduce musty odors in bins containing natural-fiber clothing.
Small donation box or bag
Collect items identified during sorting that won't be returned to storage.
Once supplies are ready, clear a staging area - a bed, a cleared table, or a section of floor - large enough to spread out the category you're working on. Never mix categories in the staging area at the same time.
Step-by-Step: Rotating Your Seasonal Items
Follow these steps in order. Skipping the sorting phase and going straight to packing is where most households lose time and create the chaos they were trying to avoid.
Pull out everything that belongs to the outgoing season
Before bringing in any new-season items, fully remove what is currently in use. Pile clothing, gear, and décor together by category in your staging area. Resist the urge to start storing immediately - a complete picture of what you have prevents overpacking and missed items.
Sort into three groups: store, donate, and discard
Hold each item briefly and assign it to one of three piles: store (it will be used again next season), donate (functional but no longer needed), or discard (worn out, broken, or beyond repair). Be honest - storing items you haven't used in two or more seasons typically just defers the decision.
Clean and prep items before packing
Wash clothing, wipe down gear, and dust off décor before placing anything in storage. Packing dirty items - even lightly soiled ones - leads to staining, odors, and pest attraction over months of storage.
Pack by season and category, not by container size
Group items so that everything in one bin will be retrieved at roughly the same time. Avoid mixing, for example, winter scarves with Halloween décor just because they fit together. Mixed bins mean opening multiple containers to find one category when the season turns.
Label each container before closing it
Apply your label - including season, category, and a brief contents note - before sealing the bin and moving it to storage. Labels added later are frequently skipped or forgotten, leaving you with unlabeled mystery boxes by the following year.
Store bins with accessibility in mind
Put the bins you'll need soonest at the front or on top. If you're heading into winter, the bin you'll reach for in early spring can go toward the back. Heavier bins should always be stored at floor level to reduce injury risk when retrieving them.
Schedule Your Swap - Don't Wait for a Trigger
Protecting Items During Off-Season Storage
How you pack matters as much as where you pack. Clothing stored in trash bags traps moisture and invites mildew. Rigid plastic bins offer better protection against pests and crushing, but they need to breathe slightly - avoid sealing natural fabrics completely airtight for months at a time.
For clothing, wash or dry-clean everything before storage. Stains that seem faint now will set permanently over months. Cedar blocks or lavender sachets help deter moths without the chemical residue of mothballs. For outdoor gear like cushions, hoses, and sports equipment, brush off soil and allow everything to dry fully before boxing - even small amounts of moisture create mold inside closed containers.
Décor items, especially those made of glass, ceramic, or wood, benefit from individual wrapping. Reuse tissue paper, newspaper, or soft cloth between sessions rather than buying bubble wrap each year. A good closet organization framework can also help you decide what truly earns dedicated storage space and what should be donated instead.
Attics and Garages Have Storage Limits
Building a Labeling System That Actually Works
Labels fail when they're vague. "Winter stuff" on a bin tells you almost nothing when you're standing in a cold garage in November. Effective labels include three pieces of information: season, category, and a brief contents note. For example: Winter / Clothing / Kids' coats + snow pants.
Use a consistent format across all containers so anyone in the household can find and return items without asking. Color-coded tape by season - one color per season - adds a fast visual cue when bins are stacked. Write labels on paper inserts visible through clear bin sides rather than directly on lids, which often face the wall when stacked.
If your household involves multiple people with different organizational instincts, a shared labeling standard helps reduce friction. The guide on organizing when everyone disagrees offers practical approaches to building systems multiple people will actually use.
The Annual Audit: Keeping Rotation from Becoming Accumulation
Every seasonal swap is an opportunity to audit what you actually used during the past season. If an item came back out of storage untouched, it's a candidate for donation, not re-storage. Keeping a small donation box in your staging area makes this easy - as items come out, assess each one before deciding whether it goes back in.
A quick seasonal walkthrough of your storage areas also catches problems early - water intrusion, pest activity, or containers that have shifted and could fall. For a broader look at what to inspect around your home each season, see our article on spots homeowners routinely overlook during a seasonal walkthrough.
Seasonal rotation done well isn't about perfection - it's about having a system consistent enough that it takes less effort each time you repeat it.
The content provided on our blog site traverses numerous categories, offering readers valuable and practical information. Readers can use the editorial team’s research and data to gain more insights into their topics of interest. However, they are requested not to treat the articles as conclusive. The website team cannot be held responsible for differences in data or inaccuracies found across other platforms. Please also note that the site might also miss out on various schemes and offers available that the readers may find more beneficial than the ones we cover.