
Composting at Home: Turning Kitchen and Yard Scraps into Garden Gold

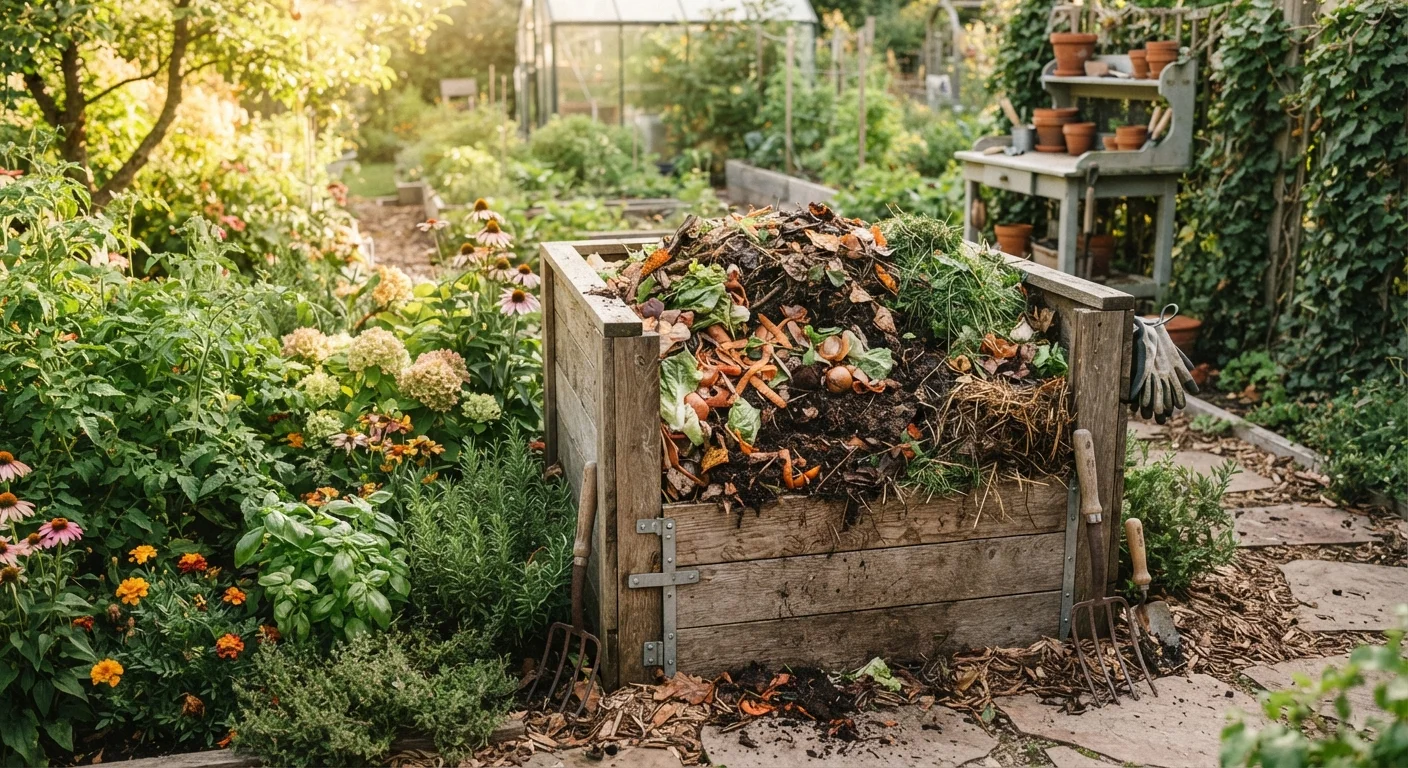
Photo: InsightsBlock.com | Access Information With Ease editorial
Key Takeaways
- Composting requires a balanced mix of carbon-rich 'browns' and nitrogen-rich 'greens' to work effectively.
- Most kitchen and yard scraps can be composted, but meat, dairy, and oily foods should be kept out.
- Moisture, aeration, and particle size all influence how quickly your pile breaks down.
- Finished compost is ready to use when it looks dark, crumbly, and smells earthy - not rotten.
- Composting reduces household waste and produces a free, effective soil amendment for your garden.
Why Composting Is Worth the Effort
Composting is one of the most practical habits a homeowner can develop. It diverts organic waste from the landfill and returns it to your soil as a free, nutrient-dense amendment - often called humus (the stable organic matter that forms when decomposition is complete). Finished compost improves soil structure, feeds beneficial microorganisms, and helps soil retain moisture, which translates to healthier plants and lower water bills over time.
If you're already working toward a productive yard, composting fits naturally into a broader garden strategy. Our seasonal lawn and garden guide covers how soil amendments like compost fit into each growing phase across US climate zones. And if you're starting a food garden, composting pairs directly with the work covered in starting a vegetable garden from scratch.
What to Put In - and What to Leave Out
Successful composting depends on maintaining a healthy ratio of two material categories:
- Browns (carbon-rich): Dry leaves, cardboard torn into small pieces, paper bags, straw, wood chips, and paper egg cartons.
- Greens (nitrogen-rich): Vegetable and fruit scraps, coffee grounds and paper filters, tea bags (remove staples), fresh grass clippings, and plant trimmings.
A commonly cited ratio is roughly 3 parts browns to 1 part greens by volume. In practice, aim to layer or mix materials so the pile stays moist but not soggy, and never smells like ammonia (too many greens) or fails to heat up (too many browns).
Never Compost These Materials
Eggshells, coffee grounds, and shredded cardboard are among the most useful and abundant household additions - they're easy to collect and balance each other well in a mixed pile.
Tools and Setup
You don't need expensive equipment to compost effectively. A simple wire mesh cylinder, wooden pallet structure, or manufactured plastic bin all work. What matters most is that air can circulate, the pile can be turned, and it holds enough mass - at least 3 cubic feet - to generate heat.
Compost bin or designated pile area
Contains materials, retains heat, and keeps the pile tidy and pest-resistant.
Garden fork or compost aerator
Used to turn the pile and introduce oxygen, which accelerates microbial activity.
Kitchen countertop collection bin
Collects vegetable peels, coffee grounds, and other food scraps between trips to the outdoor pile.
Moisture meter or spray bottle
Helps monitor and adjust pile moisture to the ideal level - about as damp as a wrung-out sponge.
What you will need
Bin placement matters. Choose a level, partially shaded spot with good drainage. Full sun speeds decomposition in spring and fall but can dry out the pile in summer. For mulch comparisons that apply to surrounding garden beds, see our guide on mulching your garden beds.
Step-by-Step: Building and Maintaining Your Pile
Follow these steps to get your compost pile established and producing usable material within a few months.
Choose and position your bin or pile area
Select a spot that is accessible year-round and sits on bare soil rather than concrete - direct soil contact allows earthworms and beneficial microbes to enter from below. Mark a minimum footprint of 3 feet by 3 feet. If using a bin, assemble it according to the manufacturer's guidance and place it on the prepared spot.
Build your first layer with browns
Start with a 4-6 inch base layer of coarse browns such as small sticks, straw, or wood chips. This base layer improves drainage and allows air to enter from the bottom. Follow with a thinner layer of finer browns like shredded cardboard or dry leaves.
Add your greens layer
Add a 2-3 inch layer of nitrogen-rich greens on top of the browns. Kitchen scraps, fresh grass clippings, or plant trimmings all qualify. Spread them evenly rather than dumping in one spot, which can create a dense, airless mass.
Moisten the pile if needed
Check moisture by squeezing a handful of material. It should feel like a wrung-out sponge - damp but not dripping. If it's too dry, add water using a hose or watering can. If it's too wet, mix in dry browns and turn the pile to introduce air.
Continue layering as materials become available
Each time you add new kitchen or yard scraps, cover them with a layer of browns. This habit controls odor, deters pests, and maintains the carbon-to-nitrogen balance without requiring precise measuring. Over several weeks, the pile will begin to shrink as decomposition progresses.
Turn the pile regularly
Use a garden fork or compost aerator to turn the entire pile every 1-2 weeks, moving material from the outside edges into the center. This reintroduces oxygen, distributes moisture, and exposes undecomposed material to the most active microbial zone in the pile's core. More frequent turning produces finished compost faster.
Monitor temperature to gauge progress
An active pile heats up in its center - sometimes reaching 130-160°F - which is a sign that microbial decomposition is working efficiently. You can check with a long-stem compost thermometer or simply observe steam rising when you turn the pile on a cool morning. When the pile no longer heats up after turning, decomposition is nearing completion.
Recognizing Finished Compost and Using It
Finished compost looks dark brown and crumbly, with a pleasant earthy smell similar to forest soil. You should not be able to identify the original materials. The process typically takes 2-6 months in warmer months with active turning, or longer in cool weather or a passive (unturned) pile.
Speed Up Decomposition Naturally
Apply finished compost by working 1-3 inches into the top layer of garden beds before planting, or use it as a topdressing around established plants. It can also be mixed into potting soil or used to revitalize raised beds - a topic explored in our article on raised garden bed trade-offs.
If your pile produces compost faster than you can use it, consider sharing with neighbors or saving batches for fall soil preparation. There is rarely such a thing as too much finished compost in a garden.
The content provided on our blog site traverses numerous categories, offering readers valuable and practical information. Readers can use the editorial team’s research and data to gain more insights into their topics of interest. However, they are requested not to treat the articles as conclusive. The website team cannot be held responsible for differences in data or inaccuracies found across other platforms. Please also note that the site might also miss out on various schemes and offers available that the readers may find more beneficial than the ones we cover.